
This article will share an overview of the in-lesson features available on Forte for students.
In-Lesson Control Menu
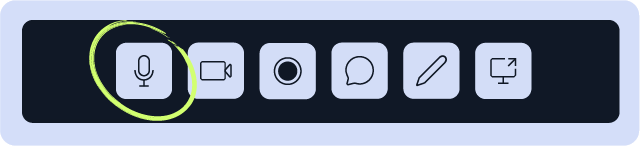
Mute
To mute and unmute your mic, click the microphone icon in the toolbar.
To toggle between your microphones or to test them, open the Settings menu (gear icon).
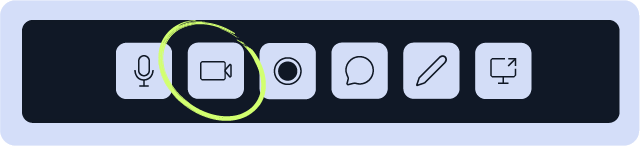
Camera Toggle
To disable or enable your camera, click the camera icon.
Tip: Quickly toggle between your available cameras by pressing shift+ctrl+L.
Recording
Using Forte’s recording feature, you can record all or parts of your sessions. To start recording, click on the Recording icon.

Both you and your teacher will receive a notification when recording has been turned on and again when recording has been turned off. You can enable and disable recording as many times as you wish during your session.
At the end of the lesson, both you and your teacher will receive an email with a link to download your recording. It takes our server approximately 15-60 minutes to process your recordings, depending on the size and length.
Tip: If you do not receive your recording via email, please check your junk/spam folder, as some email providers may accidentally mark the email as junk.
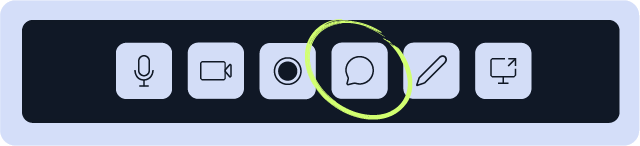
Chat
Using Forte's Chat feature, you can have written conversations with your teacher both during and in between lessons. To enable the chat function during your lesson, click the dialog icon.
Using Forte's Chat feature, you can also share files with your teacher. To share a file, either drag and drop the file into the chat window or click on the paperclip icon to browse for files on your computer.
Shared Notebook
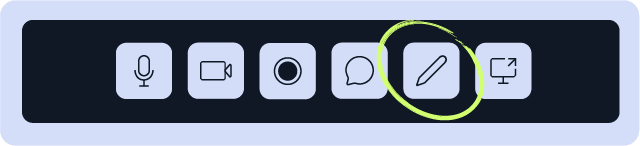
Forte's Shared Notebook is a live, shared document between you and your teacher. This document can be used to take notes during the lesson and to keep track of what to practice between lessons. It can be accessed during the lesson by clicking on the Shared Notebook icon. To access your Shared Notebook between lessons, click Open Shared Notebook in your teacher's studio box on your Learning Hub.
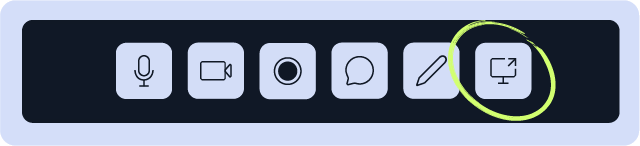
Screen Sharing
Forte's Screen Sharing feature allows you to screen share a full screen, a window, or a Chrome tab. To begin sharing, click on the Screen Share icon.
Select from the tabs at the top to select between sharing your Entire Screen, a Window, or a Chrome Tab.

Click on the preview of the screen you would like to share so it is outlined in a blue square, and click Share.

Tip: To share audio, make sure you select Chrome Tab and ensure the Share tab audio is checked.

Note: Mac users may need to give permission to Chrome before they can share your screen. View our Permissions Guide for assistance.
-
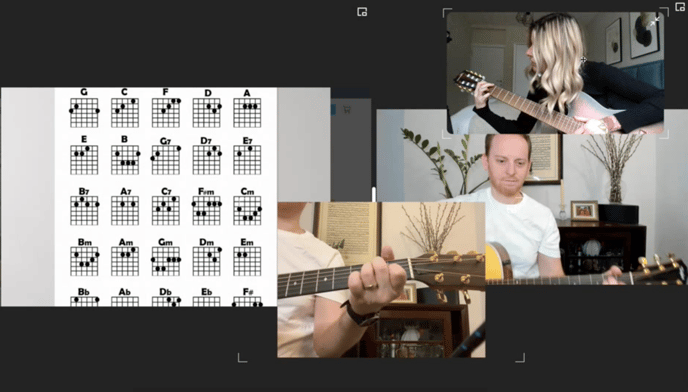
You can share your screen from any app you have open on your computer. Finale, Sibelius, Adobe, forScore, and even the basic Preview application all work great with Forte’s screen sharing.
-
Forte does not have a built-in annotation tool. However, any markings or adjustments you make on your screen within an app like Adobe, forScore, or Preview will be reflected to your student in real time.
Sharing Audio
Because Forte is browser-based, you can only share sound from a Chrome tab. If you’d like to play audio tracks from streaming services, you will need to launch those applications in your browser.
-
Any media in a Chrome tab can be shared with your student, including YouTube videos, tracks on Spotify, browser-based tuners and metronomes, and more.
-
If you would like to share an mp3 or mp4 file from your computer, you can drag it into an empty Chrome window and then share the sound from that Chrome window.
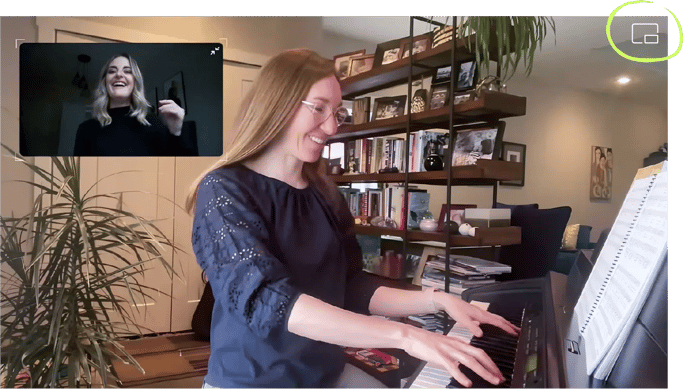
Picture-in-Picture
When sharing your screen, you have the option to use Picture-in-Picture, which allows you to take the image of your teacher out of the Chrome browser and place it anywhere on your desktop.
To activate picture-in-picture, click on the square icon in the top right corner of your teacher's video. This will then allow you to place their image anywhere on your computer screen.
Additional Settings
The Settings menu (gear icon) is located in the bottom right corner of your Forte studio.
From the settings menu, you can:
-
Mirror (flip) your self-view;
-
Switch between available microphones and cameras, and speakers;
-
Turn on/off Noise Suppression; and
-
Test your microphone or camera during the lesson.
Noise Suppression (available on computers/desktops only)
To experience the most out of Forte Pure Audio, we recommend turning the Noise Suppression feature off. However, sometimes Noise Suppression may be needed due to background noise or the device setup.
Noise Suppression filters out unwanted noise but will also unavoidably filter out some of your music-making. It’s best to use the noise suppression button sparingly.
To turn on the Noise Suppression toggle, toggle the button in the Settings menu (gear icon).
Selecting and Testing Your Audio and Video Devices
In the in-lesson Settings menu, you can test your audio and camera devices by clicking on the Test button next to each.
Tip: Quickly toggle between your available cameras by pressing shift+ctrl+L.
Mirror your Self-view Image
Using the mirror toggle, you can flip your self-view. This will flip your self-view camera.